Outbox Sound Lets think together

Pro Tools Vs Reaper

Good bye Pro Tools. We were in love until you showed me your true colors. You never opened up to me and gave me your true secrets. This is why we cant be together anymore because all you do is throw shade. Limiting me to 32 outputs because I don’t have the hardware that you like. Why can’t I have as many outputs for what ever hardware I have. Don’t you love me for me? 

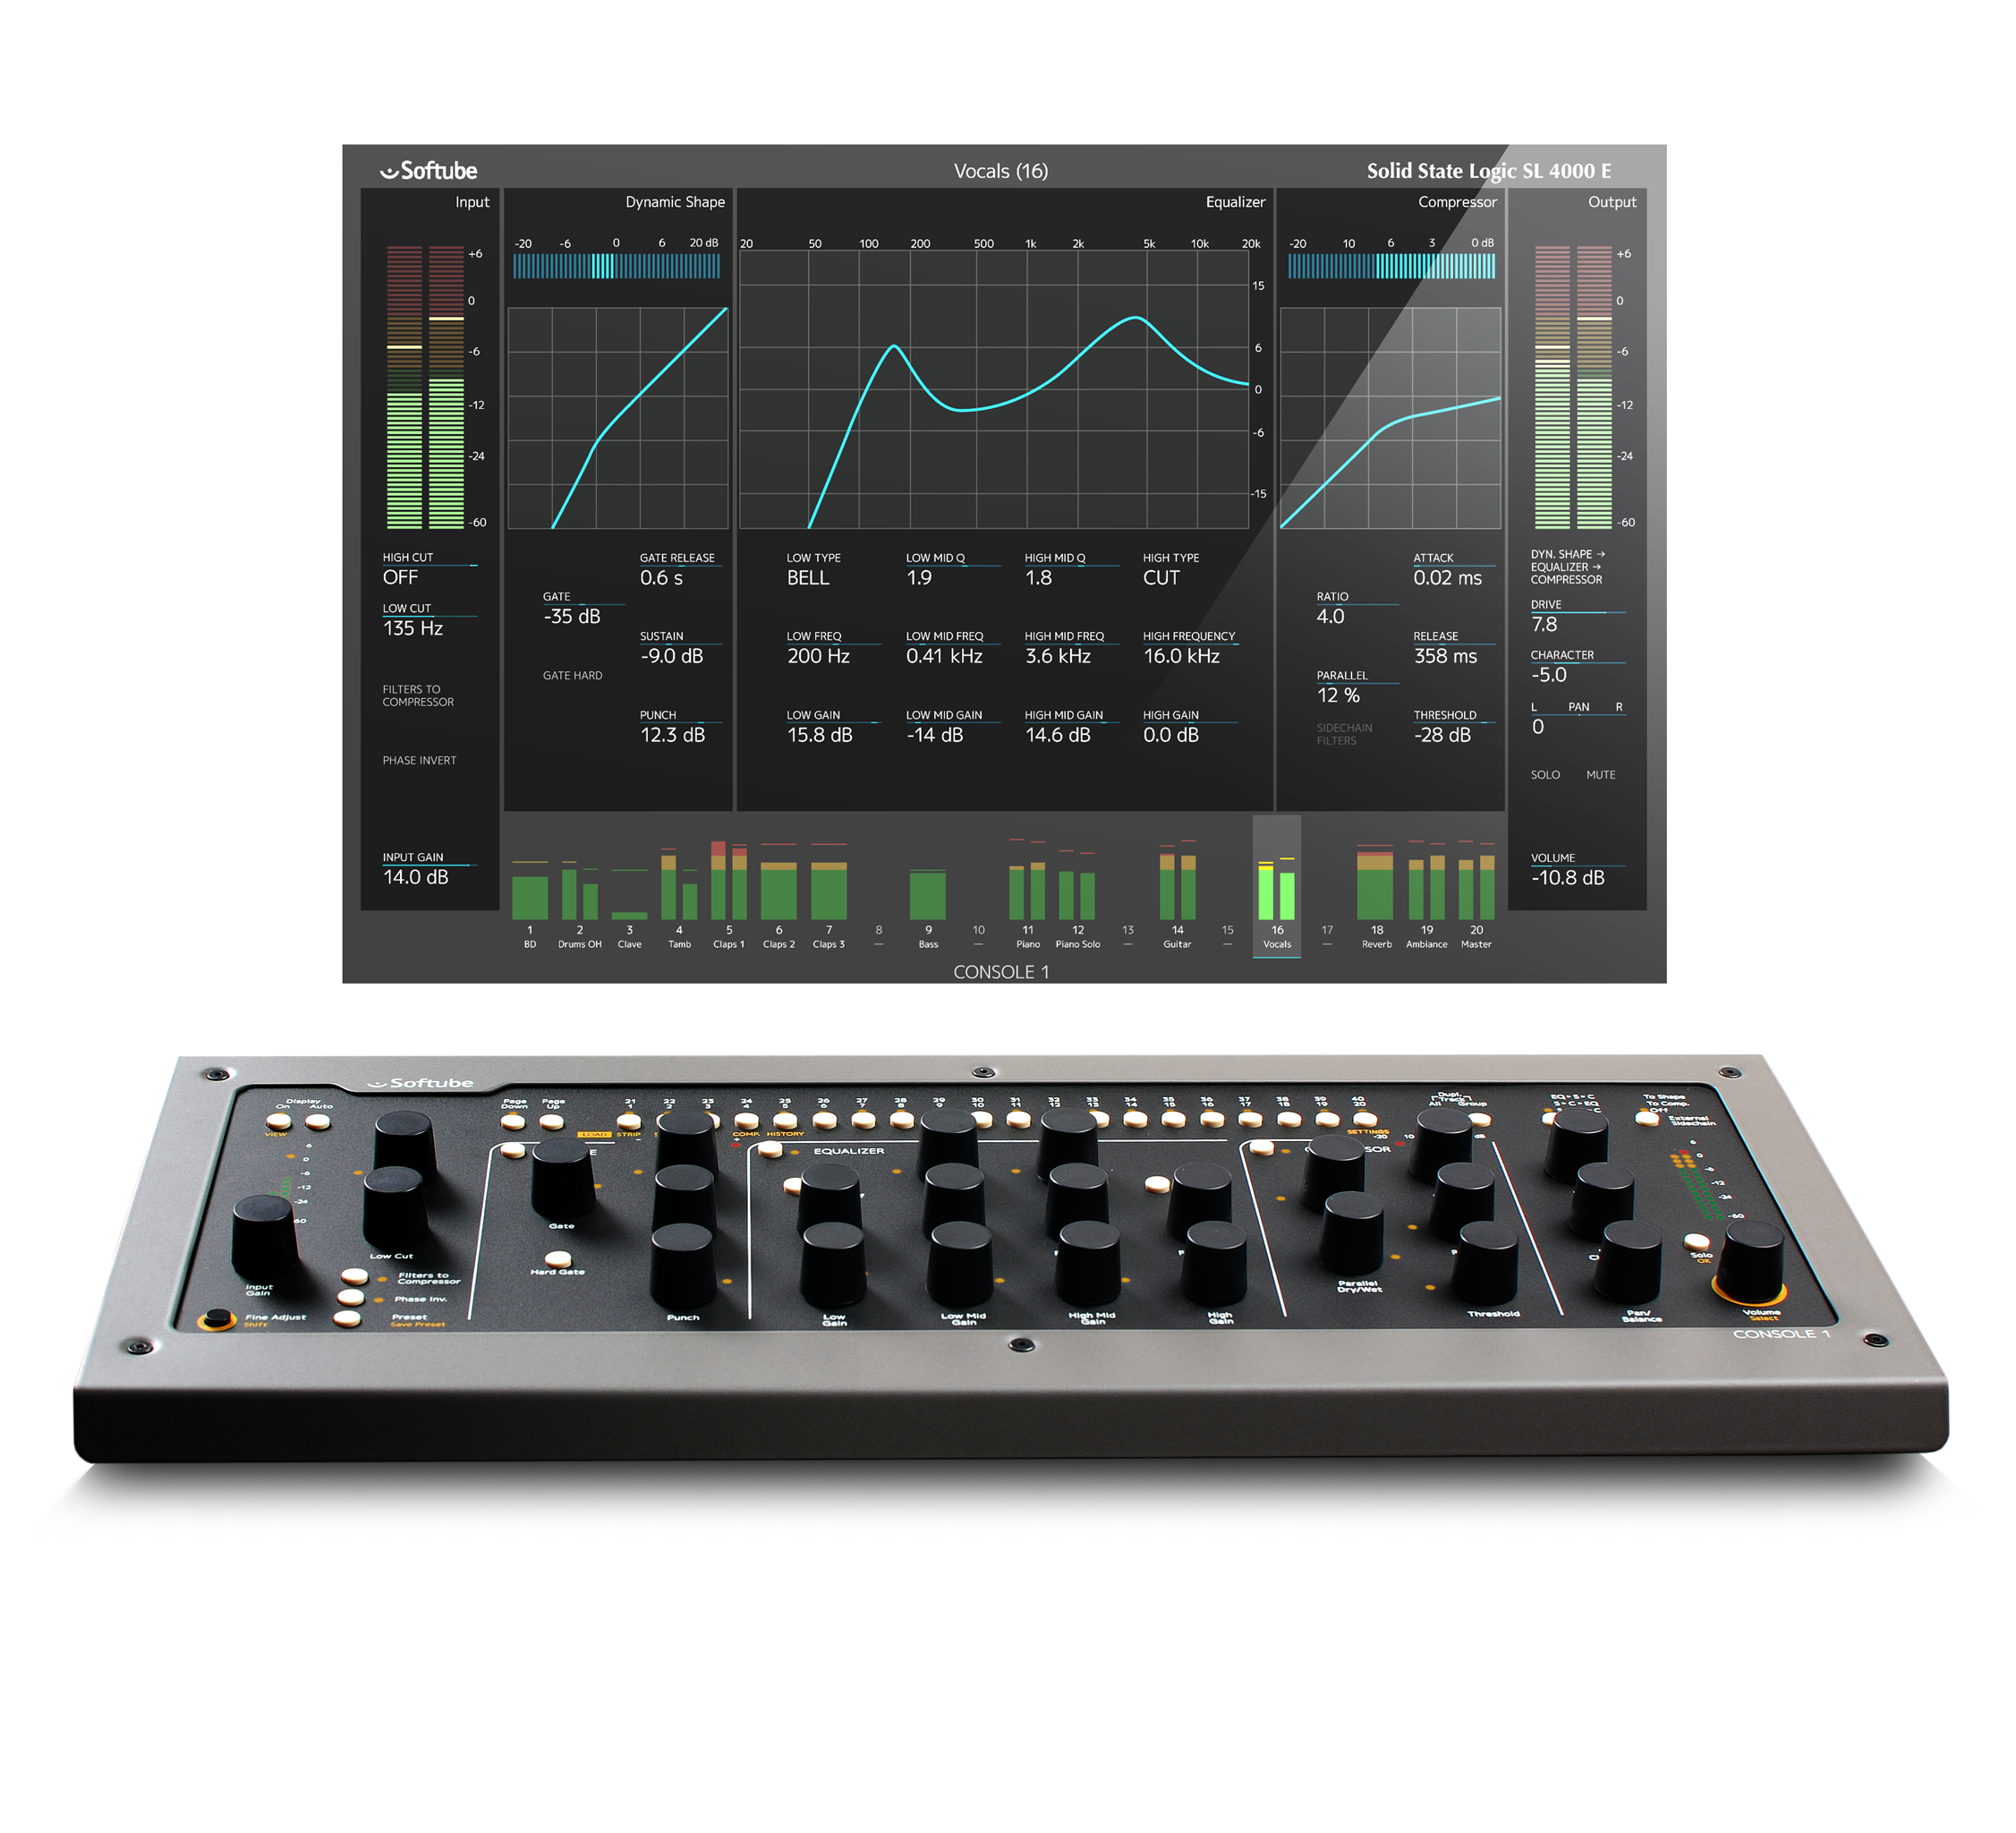
All jokes aside. I have seriously stopped using Pro Tools 2018 as my everyday mixing driver. I have the privilege of owning the Zen tour and Orion 32 + from antelope audio that has given me the capability of having 96 inputs and outputs. Im really getting into outboard gear so I thought of limitless possibilities when I first hooked up both interfaces and made an audio aggregate. Then pro tools comes along to put a limit on my imagination. You can only have 32 inputs and outputs in PT. Now at first I was ok with that, until pro tools 2018 didn’t allow me to route audio past the number 32. So remember i said I have 96 IO with the zen tour and orion 32 together. I wanted to have 32 outputs in total amongst that 96. So If I wanted to use channel 55 and 56 pro tools didn’t pass audio to those channels. It only passed audio to 1 to 32. I was furious, at this point I wanted to force this to work. So I looked into getting pro tools unlimited, and guess what! You can have 64 IO…… if you own avid gear. Ive already invested in antelope gear pro tools due to the amazing ADC, DAC as well as FPGA based plugins. What is so special about avid gear? Lets wrap this point up by saying I don’t like companies in engineering who force engineers to stay in hole, not allowing appropriate interaction with other engineering groups. If pro tools opens up there limit to 3rd party interfaces to us more than 32 IO Ill be very happy to get rid of my rant. Now Im using reaper.

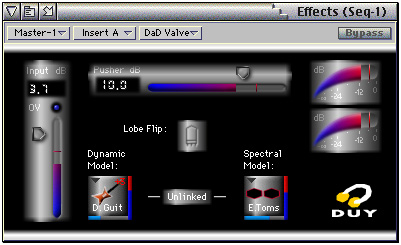
Pro Tools is my first love, but Reaper is my best friend who always has my back. Reapers flexibility is beyond wild. If you are a hardware junky, using inserts in reaper is possible on any sequence of channels. With my antelope gear I can route anything anywhere doesn’t matter what. Reapers editing is mature not as developed as pro tools, but you can live with it. Mixing is really cool once to get to the know the ins and outs of routing sends and outputs. Same for recording, once you take the time to learn how to use it, its second nature. Now the biggest thing that has annoyed me with reaper is buggy plugins. I have couple of plugins that misbehave in a session and reaper skips my audio playback  when it encounters a problem. This makes it hard to bounce sessions. So I have to painfully find the plugin that is causing problems for the skips to stop. Overall I like reaper. Now this might be my imagination or it might not be, but reaper seems to have more of the 3 dimensional feel when mixing through it. In pro tools i had to work to get that same feeling. 

Lastly I have not completely stopped using pro  tools. I still use it for recordings, just cause I am faster In PT than reaper for recordings. I don’t mind using different tools for different things. Reaper is good for mixing and pro tools is good for recording and editing in my mind right now. So as an engineer what tools work best for you ? 

Let us know 

Hunter

Outbox Sound LLC 


Reaper. The DAW everyone (and no one) is talking about.

A while ago, Justin did some articles on Pro Tools vs. Studio One. Recently we were introduced to the incredible DAW Reaper. I can’t speak for everyone but for me, it’s the DAW of choice for me going forward. It takes a little effort to learn it but we’ll get into that! What I want to do is speak on my experience with it and a few of my favorite features that I’ve discovered.


First…Some Resources!

If you want to learn in depth about Reaper I recommend going to the Reaper Site and The Reaper Blog for VERY in depth information. Now. Let’s get into it!


My Favorite Things

So, first of all Reaper is an EXTREMELY light program. From what I’ve seen it’s roughly 65MB. You can create a portable install on a FLASH DRIVE! And it will hum along with ease. This is excellent if you have a not-so-powerful computer or want to run Reaper away from your own setup. You can export your configurations and key shortcuts to import on the flash drive as well (More on that in a second). I have to say, Reaper is probably the most tightly coded DAW I’ve ever used. And what’s more, the developers are EXTREMELY responsive and provide updates regularly. Let’s get to my actual list though.


1) Price!!!!!

If there’s one thing engineers, producers, and musicians can agree one it’s that saving money while maintaining a quality product is paramount. Reaper utterly DESTROYS every other DAW that I’m aware of in that capacity. Reaper is FREE for 60 days and then after that the license is $60. SIXTY. DOLLARS. Even if you don’t like it you should still buy it just for when you DO like it. This is a DAW that is so flexible, that editing, recording and mixing can be a SNAP.


2) Stability

Reaper, while being the cheapest DAW, is also the MOST stable. As mentioned above, Reaper is extremely lightweight and light on CPU as a result. That said, recording and editing is a snap because it does not tax your CPU or throw you annoying error codes like OTHER DAW’s. You can add plugins while recording, edit an entire other SONG while recording too. Reaper doesn’t even flinch. It just runs so smooth and I have no idea how they do it.


3) Rendering

Perhaps my most favorite feature (because it saves me the most time), is the Render Queue. Imagine this. You finish a mix and the producers wants your mix, vocal up, vocal down, instrumental, stems etc. Well, all you gotta do is add them to the Render Queue! Basically, what Reaper does is take a snapshot of the current session (Exact settings and all) and will print it according to those settings. It will close and open the same sessions as you make changes to print. The great thing is you can do these prints and walk away and come back later and all your prints will be done. I often find myself doing this with Masters. Instrumental, CD WAV, Full Quality WAV, MP3, Performance etc. I can go eat dinner or do something else productive while that’s happening. Absolutely love it.


4) Customize EVERYTHING

So, this is the most powerful thing about Reaper. You can customize pretty much ANYTHING (Almost to a fault). This can get complicated for many users who just want to use a program and keep it moving. You can customize toolbars, individual track faders (height, color, information displays etc), even menus! It is insane how much you can customize this program to fit like a glove. What’s more, you can create custom shortcuts and actions (Macros) to perform common functions. I will say this- get a gaming mouse and watch things be AMAZING. Editing functions and such at the stroke of a key are awesome. Personally, stringing together multiple macros to lessen my key presses saves TONS of time. Also you can get custom themes from savvy users on the internet! Customize it how you like it. I won’t even go into scripts and code you can write to do cool things. I recognize I’m barely scratching the surface but to see just how powerful customization is, I strongly urge you to check out the links above.


SUMMARY!

Reaper is an amazing DAW that many people know about but are either afraid to try or think it is inferior. FALSE!!! I challenge you to take a chance and try to wrap your head around this DAW. The possibilities are endless. I have barely done this amazing piece of software justice but I hope this will at least pique your interest in exploring a very affordable and extremely powerful DAW. I realize some readers will say, “Oh this DAW can do this and this other DAW can do that. While that may be true for a few of them, I would bet that none can provide the value, flexibility, speed and raw power that Reaper can bring. I for one won’t be changing anytime soon! Enjoy and keep making music y’all!!

So....Let's Talk About Audio Interfaces.

Audio engineering, like all other career paths/hobbies has tools that are necessary to achieve a certain outcome. A lot of the time, those tools can be boring and just hum quietly in the background doing their job. The same applies to audio except, when you're hip to the lingo and what the industry is doing, a lot of the tools that come out are downright awesome and fun to play with too. There are many many options out there that can confuse and overwhelm the casual or new audio person- this is who that article series is aimed at. We at Outbox Sound want to provide you with some tips on how to navigate these murky waters and come away with tools that are necessary, as well as identifying the "fun" pieces that may not be vital to operation but make things a whole lot more fun. First up? Audio Interfaces

If the computer is the brain, the interface is definitely the nervous system. These devices are the link between analog (electricity) and digital (1's and 0's). Understanding the two are vital but that is an in depth article for another day! For now, recognize that anything going into or coming out of a computer will be digital while any piece of outboard gear (compressor, microphone, etc) will Usually be analog. Why is an audio interface important then? Because an audio interface is a combination of things: Analog to Digital (A/D) and Digital to Analog (D/A) conversion, Microphone preamps, and various types of input and output connections. Effectively, you can get a single audio interface which can handle anywhere from 2-64 simultaneous connections (Or more if you're using Dante or daisy chaining- again, another topic)! Suffice it to say, getting your interface RIGHT is very important.

Tips For Choosing An Interface

- Consider your current situation.

One thing you'll see if you deep dive into forums is opinions- wildly varying opinions. This can be confusing. Identify exactly what you intend to do in your current space but also take the time to consider where you'll be in a few years. It really sucks to not think ahead and buy something that you realize won't enhance your workflow long term! Consider I/O. How many mic preamps do you need? How important is conversion to you? Do you need multiple analog I/O to connect outboard gear? How do you connect it to the computer- USB, Firewire, Thunderbolt? How's the software that comes with the interface to run it? These are some of the questions to consider!

- Narrow down research to a few devices and then demo them IN your studio!

Gearslutz is fun. It's cool to see people talking about the craft you love and providing resources and tips. But none of it matters if you buy a piece of gear and hate what it does or how it sounds in your studio. Don't be that guy!

Here are some interfaces we like and recommend

1) Universal Audio Apollo Twin. $899. Check it out!

2) Focusrite Scarlett 18i20. $499. Check it out!

3) Audient iD14. $299. Check it out!

4) Universal Audio Apollo. $2499. There are other versions of this as well. Check it out!

5) Big step up! We use this at Outbox Sound. Antelope Orion 32+. $2995. Check it out!

Wrap-Up

As you can see, audio interfaces vary in size, shape, capability, and also price! We put a few examples of quality pieces that can satisfy the majority of target demographics out there. The idea here is, ALWAYS look at what you intend to do and how you intend to do it when making a decision. Don't just look at the price tag and go for the cheapest option as it's likely you'll end up scrapping it soon after as you grow! Consider the future....until next time!

Pro Tools Vs Studio One


 If you are trying to get into the mixing game or if you are even just a creator/arranger, Why the heck should you consider Pro Tools, yet Pro Tools 2018? Well we can go with the saying of, Pro Tools is industry standard! If you are not using it you are not apart of the club. Does it even matter any more? I really don't think so. Let's talk about Pro Tools and other DAWs that we at OutBox Sound are playing around with now a days. You tell us what you think about this matter


We are utilizing three Daws, Pro Tools 12 and higher, Studio One and Reason 9. Let's start with Pro Tools. Being the one who has use this daw for several years, I must say I can't live with out it. Why... I have put a lot of practice in it, I am purely in love with the editing features. Editing on pro tools is like being a dog wagging it's tail. It just comes natural, you get the results you think about and you become happy. Yes strange analogy but just open your mind... Now pro tools did lack on usability when it comes down to mixing. It always took time to set up a session, you always had to either have a template session or build one from scratch, then place plugins on every track. It was kinda annoying. Untill now! Pro Tools 2018 added the capability to recall track plugins and sends. This is great because after editing audio tracks, to get ready for a mix you just recall your plugins on that track. So if You have a list of plugins for lead vocals for example, save it as a preset, then You can recall it on any track. So thank you pro tools for trying to make something else other than editing quick. They added other things for midi capabilities, but I'm not going to talk about that today. However here is a bad thing pro tools need to work on. That is to give us unlimited outputs regardless of interface. Why can’t we have that in 2018 ? Why limit your LE users. I don't need pro tools hd so help a LE person out. Studio one gives you everything with out limit, why can't you.


I will give it to pro tools, they are much more stable than any of the other daws I use, but somewhat less flexible. However it's a good daw, I don't mind sticking with it. If you are interested, pro tools 2018 go for it. The recall feature make your PT experience even better. I don't mean to sound like a fan boy when I say this. You can mix and master in anything now a days. If you noticed I mentioned pro tools as being a tool. I use pro tools for editing and mixing. I use reason 9 to produce music. Then I use Studio one to master. Everything is a tool for something. Don't let anyone tell you just to use pro tools.

Studio One is my mastering platform, they made it so easy to master multiple tracks. S1 makes life easy at the end of project. This, just order your tracks how you need it to be and put your mastering plugins on your main bus. If you need to process individual tracks, go ahead and do it. You can add plugins to individual tracks very easily. Of course at the very end once you are satisfied with you sound just do a digital bounce of whatever format you want. Then send it to your client.


So once again all of these daws are tools. Use them for what they are good for. Pro tools 2018 good for editing and mixing, studio one is good for mastering and reason is very good for producing.


Hit us up if you want to talk about specifics!

2017 Plugin Round Up

Well folks! 2017 is done and I thought it would be dope to list 6 of my favorite plugins that I used this past year. Hopefully if you haven't heard of these you'll be inspired to check them out for yourself! Or, don't be afraid to hit us up and let us work on your next project while using some of these! Without further ado, let's get it going!


1) Duy Valve


This plugin right here is fairly unknown. BUT, you all NEED to get hip to this plugin immediately. It essentially emulates a valve sound and when you play around with the settings you're able to make your kicks, bass, BGV's come alive in the low end. It is voodoo magic because I typically have no idea how it works. I just tweak Input, Pusher, and select a mode and BOOM. You can put 2 different styles together to create a cool curve too. If you want instant power and girth, look no further. You can go here to check it out!

2) Mastering the Mix REFERENCE


Mastering the Mix is a company created by mastering engineer Tom Frampton. Tired of mixes and masters that were lacking in quality, he teamed up with the team from 29 PALMS to design plugins that are informative and provide technical information for users. I am featuring this plugin because it does EVERYTHING a referencing plugin should do. Level matching, Frequency range isolation and analysis, and (my favorite feature) time alignment. This is especially useful in mastering but mixing as well as you can link your mix with the rough mix and A/B them with no interruptions. Good to see if you're making it better or worse! That's all well and good but what really strikes me is how, during development, they specifically asked the user community what they would like to see in a referencing plugin and you can tell they listened. It has EXACTLY the features that anyone would want! You can go here to check it out!

3.) Soundtoys Decapitator


I love this plugin. Essentially, this plugin is for distortion/saturation/making things sound cool. You don't necessarily have to have this plugin but in my opinion all mixers should have some sort of saturation plugin at their disposal. The reason I love this plugin? It can make things stand out in a mix in an interesting way and add that extra bit of flavor to a track, OR you can completely mangle a sound and make it very aggressive. For example, bass is a primary track for this plugin. If I need some extra growl or fuzz to make the ear pick out the definition of the bass, this is what I use! Now, the best things about this plugin? Mix knob and Punish button. You can hit the punish button to drive insane amounts of level to the input of the plugin to completely destroy a sound but then, you can mix in say, 20% of it into your dry signal. That balance can give a nice punchy sound to an otherwise sterile track. You can get this plugin here

4.) Ampex ATR-102 (UAD-2)


Finishing your mix. This is what we as engineers seek to do. When looking at strategies to present a final mix for mastering or release (if you are not opting to do mastering), look no further than this plugin. This tape machine is a staple in many mastering engineers studios. Universal Audio has done a fantastic job of capturing the character and warmth that this hardware provides. To my ears, this plugin works to glue your sound together and add a nice mid frequency bump and SLIGHT frequency roll off in the very high end. It brings instruments forward and adds loads of character that, when combined with proper mix buss compression, can be the ticket to a final mix. The downside would be that you must own UAD hardware dsp to run these plugins. Looking for an alternative? I would recommend checking out the Slate Virtual Tape Machine (VTM) for a native solution.

5.) Softube Console-1


There are many plugins that emulate the usual suspects- API, Neve, and the especially notorious SSL 4000. Softube has taken this idea and went all in! They have made a hardware unit that feels like a real SSL channel strip. If you're looking for high/low pass filtering, gating, transient shaping, EQ, Compression, AND saturation THIS is your option! When I integrated this into my setup I found that I got to the end result of my sounds much much faster and it felt more natural as I was mixing with my hands and ears rather than a mouse and keyboard. Somehow, it allowed my creativity to improve even more and it's just much more fun. I tend to pretend that it is "board EQ" which you would hear from a lot of pros who use consoles and plugins in their setup. They have a perfect way to understand what sounds they get from the console vs plugins. Now, bedroom engineers can have a simulation of this experience. Additionally, the hardware can work with UAD plugins, and Softube has created excellent emulations (FULLY endorsed by SSL) of the SSL 4000, and SSL XL9000.

6.) Fabfilter Pro-Q2


Last but not least is the absolute most vital plugin in my arsenal. When we think of workhorse plugins, we think of tools that are unassuming, low on CPU usage, and exist on almost every track in our mix as a go-to tool. THIS plugin right here fits that mold. It can literally do everything. From EQ Matching, to Mid-Side processing, to Linear Phase, to 25 (YES, 25) bands of EQ, this EQ can do it all. One thing that is great about Fabilter is that you are able to zoom in and see your curves closer. For instance, you are able to see curves based on a 3 DB boost/cut perspective, 6 DB, 12 DB, and 30 DB. This is great for looking into doing major surgical cuts, or if you want to make very subtle moves in mastering. Download the free demo, add to cart, purchase. You will NOT regret it!

Thank you all for reading this blog post. The above pictures depict the plugins described above. Really and truthfully, any tool (even stock plugins) can help you achieve a high quality result. It is ALL about how you use the tools you have and mastery of those tools. But, in saying that, there's something to be said for quality tools and I believe these will help you achieve a high quality result and it is my hope that they can help someones workflow to create amazing music. 

With all of that said, we would love to work with you. Feel free to explore the site and contact us to discuss your next project!

Sum That Ish!

FullSizeRender.jpg

Summing boxes

Analog summing boxes are simple. They take many inputs and sum them into a mono or stereo output. The thing that’s cool about them is that this is summing on the voltage level. That’s what make it analog of course. The audio inputs are different voltages being combined to a summing bus. This summing bus will then be connected to the outputs. It is not more complicated than anything else in audio. Summing boxes can change the perception of your sound. Within summing boxes you could have different circuits that your audio signals goes through first before it hits the outputs. Hear me my fellow audio people! Let’s talk about this.

What is in a Passive Summing box

-Resistors (to Increase voltage drops, impedance matching)

-Capacitors ( stop Direct current(DC) from messing with your signal, coupling to ground)

-Transformers (Step up signals or step down signals)

-Diodes (rejects signals from harming your circuit)


Why does all of this matter, who really cares about this?

Ultimately there is a different between digital summing and analog summing. The concept is the same however, it’s just the processing is different. As mentioned before analog has voltages being manipulated. In fact the more components your signal runs through the more characteristics its has on the output side. You have voltages being manipulated and ultimately phasing being changed, especially if you have transformers or reactive circuits in you summing.

Now digital summing does not hold the same effects. Within your daw whether it be Pro Tools, Cubase, Studio One or any other you have to realize that it’s a computer program that calculates. When you put music in your daw it is a series of 1s and 0s that are governed by sample rates and clock timers. This Daw that we all use in the digital age is absolutely perfect. It makes it very easy to mix and record sessions right at home. With out the need of having too much outboard gear. However I do not see these daws emulating the true nature of summing and what it does to your mix.

What do you actually hear Sir Justin, what do you mean by changing my perception?

Welp. When you listen to our celebrities and the music they release. You love the sound, you can hear each instrument each vocal well balanced. We call it a 3D audio image here at OutBox Sound. This image is not just attained by using a Daw but these high end engineers mix through out board gear to help get that 3D imagery. The stereo width is also much wider and give you the sense of immersion. When you just mix in the Box (only in your Daw), it’s is a struggle to get perfect isolation. For example mixing lead vocals. You really want to keep that vocal at a good level over the instrumental. I have found that it is 10 time more difficult to do this in the box, cause you need more processing like ducking and compression. Mixing in the box has a very narrow sound, it also feels like the music is being strangled. It does not give the sense of depth or freedom.

Once again through some analog gear in the mix like a summing box and you can perceive that isolation and depth a lot better.


How can I use this summing idea ?


Ok I’m not telling you to go buy equipment that is thousands of dollars. In the link below is a DIY summing box that is only resistor based. Try that out. If you want more fun check out the other tools we at outbox sound use.


Cheap and fun DIY Summing Box $50

https://www.diyrecordingequipment.com/products/sb2-16x2-passive-summing-mixer

D-Box by Dangerous

https://www.sweetwater.com/store/detail/DBox


If you have the interface to handle summing I suggest trying it out for a couple of songs and just see what can happen. Your ear is the thing that you must trust not my words.

Also you can listen to our mixing examples on our audio page.


Thanks for reading

Justin Hunter of Outbox Sound

Fabfilter MB Vs. Waves C6

FullSizeRender.jpg

Waves C6 vs Fabfilter Multiband Compressor Who Wins ?


If you are like me you are always looking to slap a multiband compressor (MB) on everything. Why? Because I can. Also to alter the sound to get exactly what I want. Let’s talk about some findings between Waves C6 MB plugin and Fabfilter MB from Fabfilter. These two plugins can make or break you, but you have to live on the edge of mixing to see what’s right for your style.


Waves C6 Multi-band features

  • Internal/external sidechain per band
  • Individual band Listen mode
  • Four crossover bands plus two floating bands
  • Dynamic EQ, compression and expansion
  • Double precision bit resolution processing


Fabfilter Multi-band  features


  • Fully customizable per band: threshold, range, attack, release, output gain, ratio, variable knee, lookahead (up to 20 ms), variable stereo linking, mid- or side-only processing, external side chain input, triggering on a separate frequency range
  • Handles any form of dynamics processing, from highly transparent compression, limiting and expansion to pumping upward compression and punchy gating
  • Up to six processing bands, freely placed anywhere in the spectrum
  • Bands can be easily snapped together to form a traditional crossover system


User interface

Now... Waves has been around for a while, however when it comes on to user experience I have to give it to Fabfilter, their methods of control knobs makes the experience feel real and the real-time frequency analyzer helps when you are unsure about things. The wonderful thing is that it is quick and easy to conceptualize. Waves on the other hand, you have to really use this tool for a while for it to be quick. I find the plugin to be very cluttered and confusing at times.


Specific features:

Fabfilters dynamic EQ shapes can really get you the sound you want or something totally different. This is something that you could spend a lot of time on or just stick with the traditional crossover patterns. The thing that really helps Fabfilter MB is the side-chaining capabilities. Not only can you do external side chains but you can also do internal frequency side chain, where it allows you to pick a range of frequencies that triggers one of the 6 bands of compression or expansion. Mind you all six bands can have there own frequency side chain. Waves also has side chaining however it is just external, the flexibility of Fabfilter is just too good.


Price:

Fabfilter MB is $199 and Waves C6 is $299. So the choice is up to you.


Sum up:

Who wins in this battle ? Fabfilter MB wins for me.  However you really need to look at these plugins as tools. I use waves C6 on my lead vocals for an excited sound (waves plugins has a color to them so beware), and I use Fabfilter MB on instruments tracks to get a well rounded, realistic/transparent and finished sound. When it comes on to burden on your computer, you can have quite a few instances of Fabfilter MB and Waves C6 is much more burdensome on system usage. Now as engineers you really really should not just take my word for it. Check out the links below and download a demo for both.


Waves:

https://www.waves.com/plugins/c6-multiband-compressor#reviews


Fabfilter:

https://www.fabfilter.com/products/pro-mb-multiband-compressor-plug-in


Brought to you by Justin Hunter from OutboxSound


Outbox Sound Let’s Think Together !


PS: this blog was written for individuals mixing in the box. Not individuals using Waves Rack or other live performance plugin systems for live mixing.

We Love this Audio Thing

FullSizeRender.jpg

When you listen to a song what do you listen for? Do you listen with just your ears or do you let your entire body indulge the vibrations from the speakers next to you? if you listen for creativity with your entire body-- where you feel a song instead of just listening, you are just like us. We are Outbox Sound, Justin and Steven. The two engineers that will be guiding you on a journey to bringing more depth to the music and different sounds that we touch. We are devoted to using every possible means to get great music to a place where people don't just listen, but they feel it. Feel the depth and Low end, get blown away by the stereo width and the crisp center of a track. We don't just engineer music we believe in it. Yes we do work with artist, but we are artist ourselves using the musical/technical  pieces and placing them together in a way that will stop someone in their tracks. We are Outbox Sound, check us out, contact us and lets think together.


Outbox Sound